Raspberry Pi Operating Installation
Sakshi Education
In this article we are going see the steps how to install the operating system on to SD card on the Raspberry pi board.
Raspian operating system is one of the official operating systems available for free to download and use for Raspberry Pi board. The system is based on Debian Linux and is optimized to work efficiently with the Raspberry Pi board. The Raspbian includes tools for browsing, python programming and a GUI (Graphical User Interface) desktop. The Raspian desktop environment is known as the Lightweight X11 Desktop Environment (LXDE).
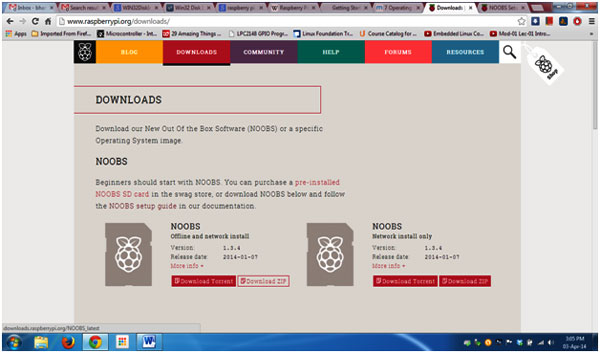
Go to Raspberry pi website https://www.raspberrypi.org/downloads /
Download NOOBS.
https://www.raspberrypi.org/documentation/setup/README.md
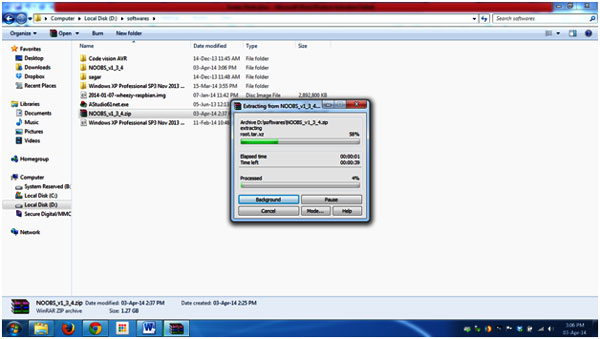
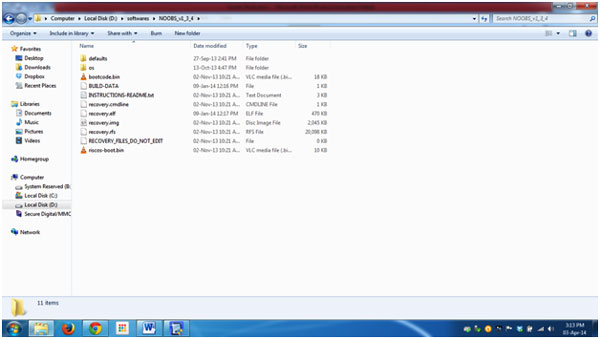
Extract the .zip file
Go to
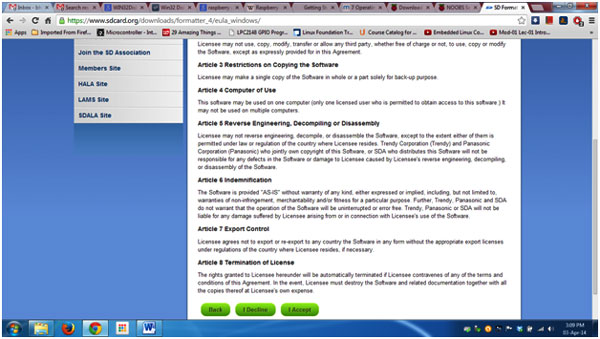
https://www.sdcard.org/downloads/formatter_4/eula_windows/
Click on accept
Download and install the SD Formatter
Open SD Formatter
And format the SD Card
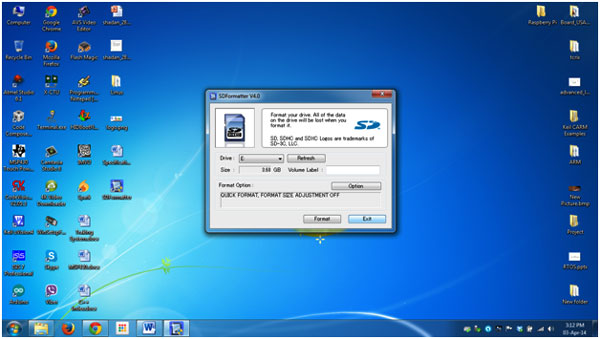
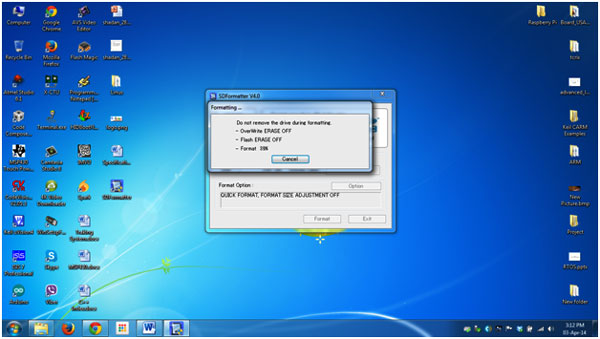
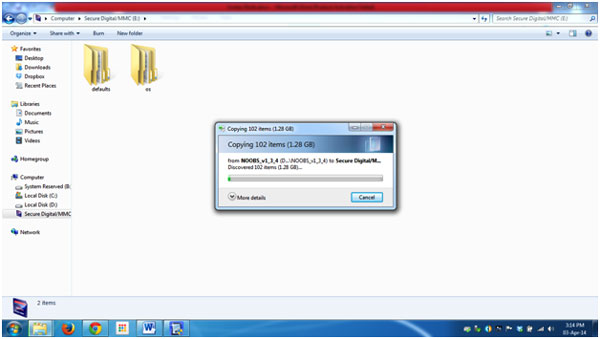
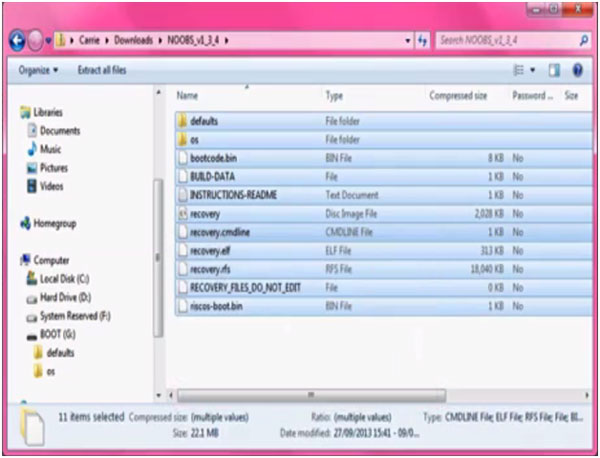
Copy all the files in NOOBS into SD Card.
Startup of the Raspberry Pi:
Raspian operating system is one of the official operating systems available for free to download and use for Raspberry Pi board. The system is based on Debian Linux and is optimized to work efficiently with the Raspberry Pi board. The Raspbian includes tools for browsing, python programming and a GUI (Graphical User Interface) desktop. The Raspian desktop environment is known as the Lightweight X11 Desktop Environment (LXDE).
Go to Raspberry pi website https://www.raspberrypi.org/downloads /
Download NOOBS.
https://www.raspberrypi.org/documentation/setup/README.md
Extract the .zip file


Go to
https://www.sdcard.org/downloads/formatter_4/eula_windows/
Click on accept

Download and install the SD Formatter
Open SD Formatter
And format the SD Card


Copy all the files in NOOBS into SD Card.


Startup of the Raspberry Pi:
- You will need the following things to startup the Raspberry Pi for the first time:
- USB keyboard und USB mouse.
- Prepared SD card with the operating system (Explained above )
- HDMI TO VGA connector to connect PI to monitor
- A power supply with micro USB plug. The power supply should supply at least 1A at 5 Volt.
- One Ethernet LAN cable (optional)
Setting up Raspberry pi board:
Step1: Connect the HDMI cable to the HDMI port on the Raspberry Pi and the other end of the HDMI cable to the HDMI port of the Monitor or with the help of VGA to HDMI- Connector connects to the normal VGA monitors.
Step2: Connect your Ethernet cable from the Router to the Ethernet port on the Raspberry pi.
Stpe3: Connect your USB mouse to one of the USB ports on the Raspberry pi.
Step4: Connect your USB Keyboard to the other USB port on the Raspberry pi
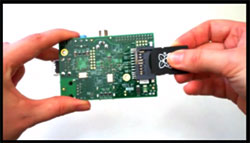
Step5: Flash the SD Card with the Raspian operating system and place the SD card to the Raspberry pi board on the SD card slot.
Step7: Connect the micro USB charger to the Raspberry pi connect it to the power supply. Then it will start installing the operating system on the Raspberry pi board.
Insert the prepared SD card into your Raspberry Pi board, plug in all required cables.
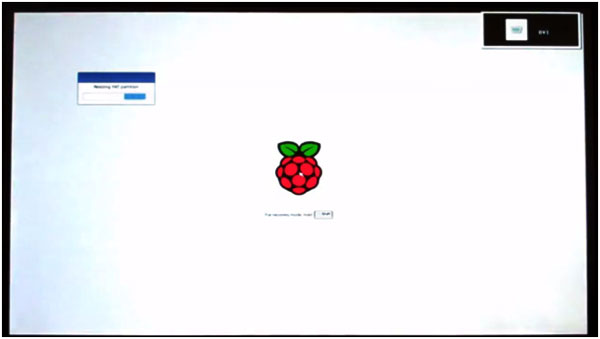
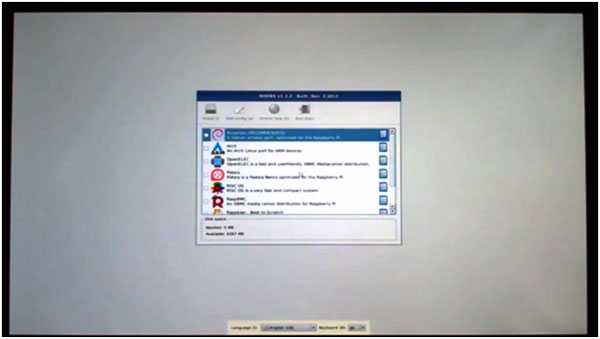
Choose the Operating System to install, and click on Install button.
Click on YES button.
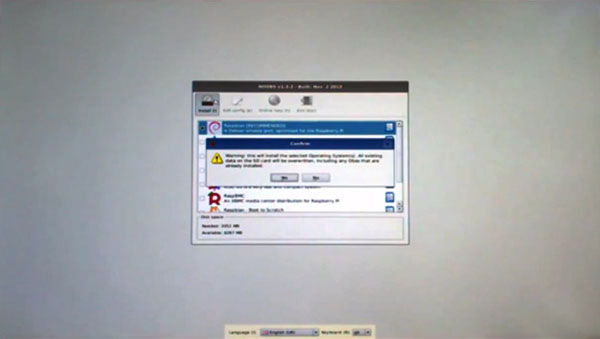
RPi starts installing OS.
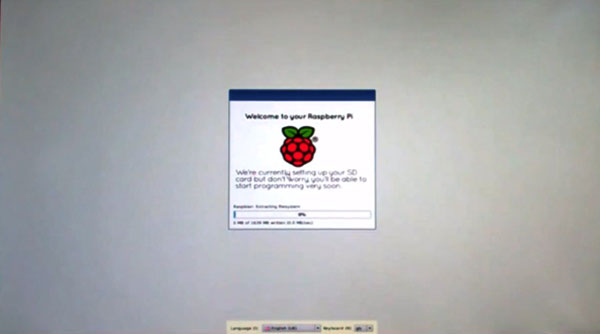
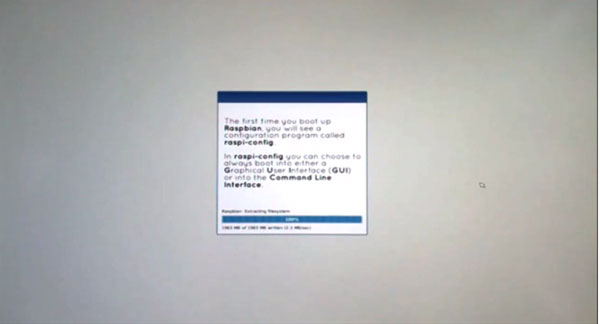
Click on OK button.
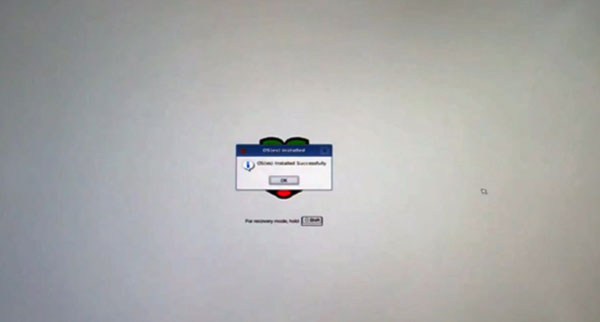
Your RPI boots and you should be able to watch the boot process in your monitor.

Configure different setting for first time.

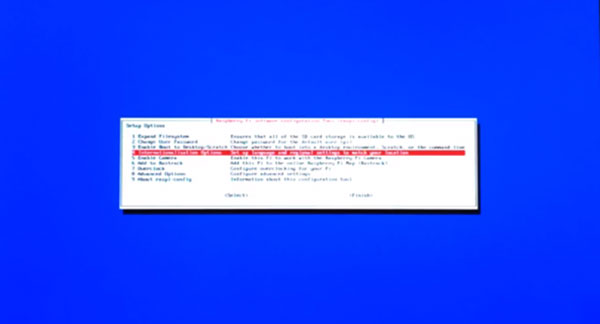
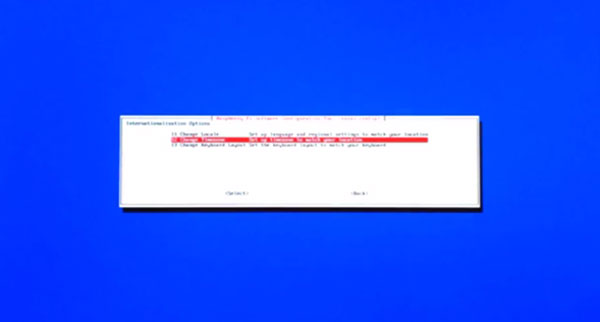
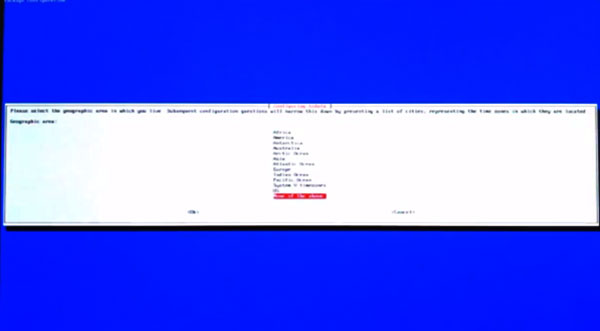
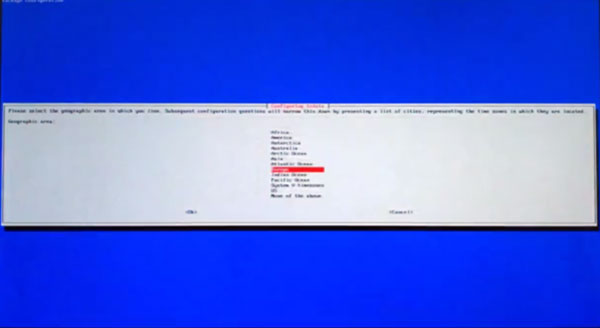
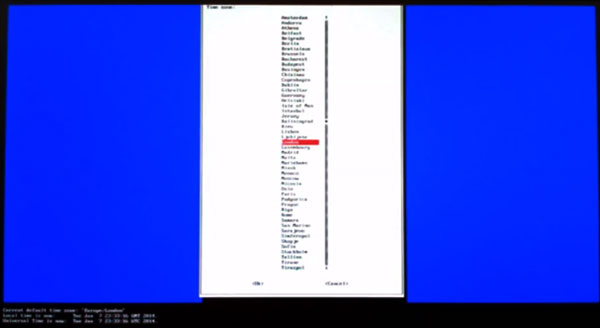
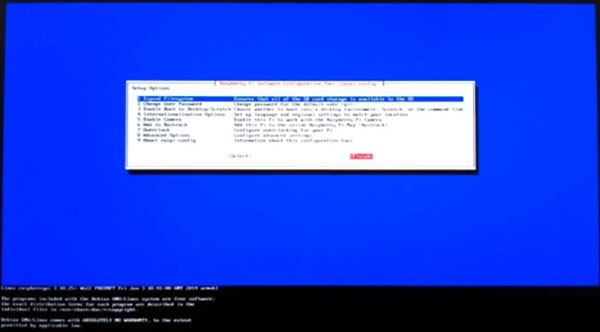
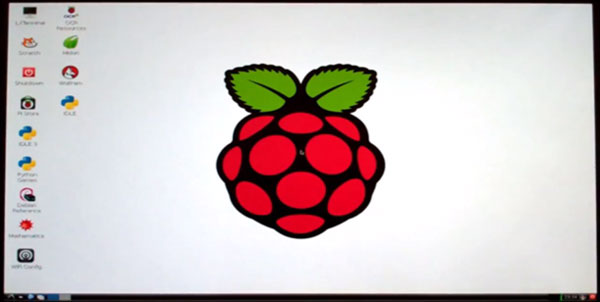
The above window shows the successfully installed operating system on Raspberry Pi board. Now you can do whatever you want like browsing, writing any programs, etc..
If you want to reconfigure again:
Go to terminal and enter the following code
sudo Raspi-config
Published date : 17 Jun 2015 04:30PM


